How to Export and Import an Agent in Microsoft Copilot Studio
How to Export and Import an Agent in Microsoft Copilot Studio
In this article, you will learn how to export and import an agent in Microsoft Copilot Studio in a simple and easy way.
What is Microsoft Copilot Studio?
Microsoft Copilot Studio is a platform where you can build AI agents (copilots) for your organization. Sometimes, you may need to move your agent from one environment to another. For that, you need to export and import it using Solutions.
Source: How to Export an Agent Developed in Copilot Studio | Microsoft Community Hub
How to Export an Agent in Copilot Studio
Follow these steps:
Step 1: Open Copilot Studio
Go to:
https://copilotstudio.microsoft.com
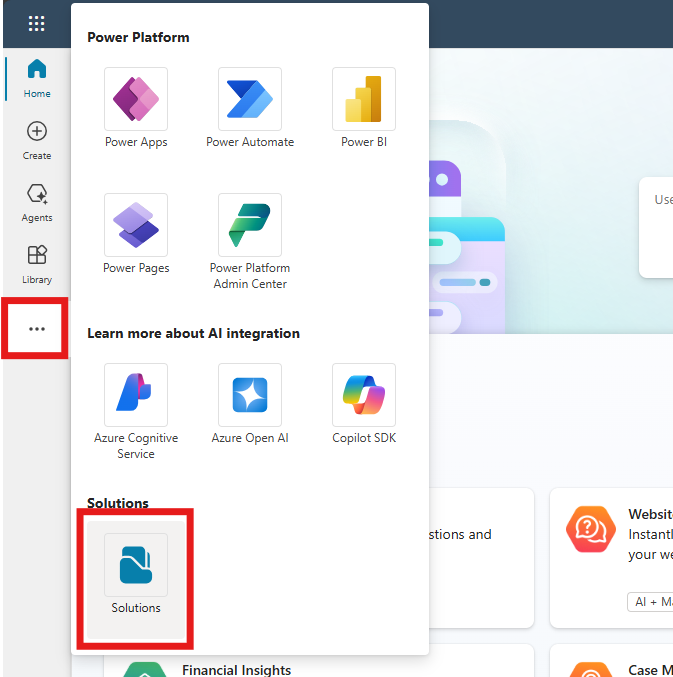
Step 2: Open Solutions
On the left side menu, click on the three dots (...)
Select Solutions


Step 3: Create a New Solution
Click on + New solution
.png)
Enter the following details:
Display Name
Name
Publisher (create one if required)
Version
.png)
Click Create
Step 4: Add the Agent to the Solution
- Return to the list of solutions.
- Find and click on the name of the solution you want to export, which is usually located within default solutions.
5. Select the Agent:
- Click on Agents and select the agent you wish to export.
- In the top menu or by clicking on the three dots (...), select Advanced and then + Add to solution.
6. Add Agent to Solution:
- hoose the solution you created earlier and click Save.
- Return to the list of solutions.
- Return to the list of solutions.
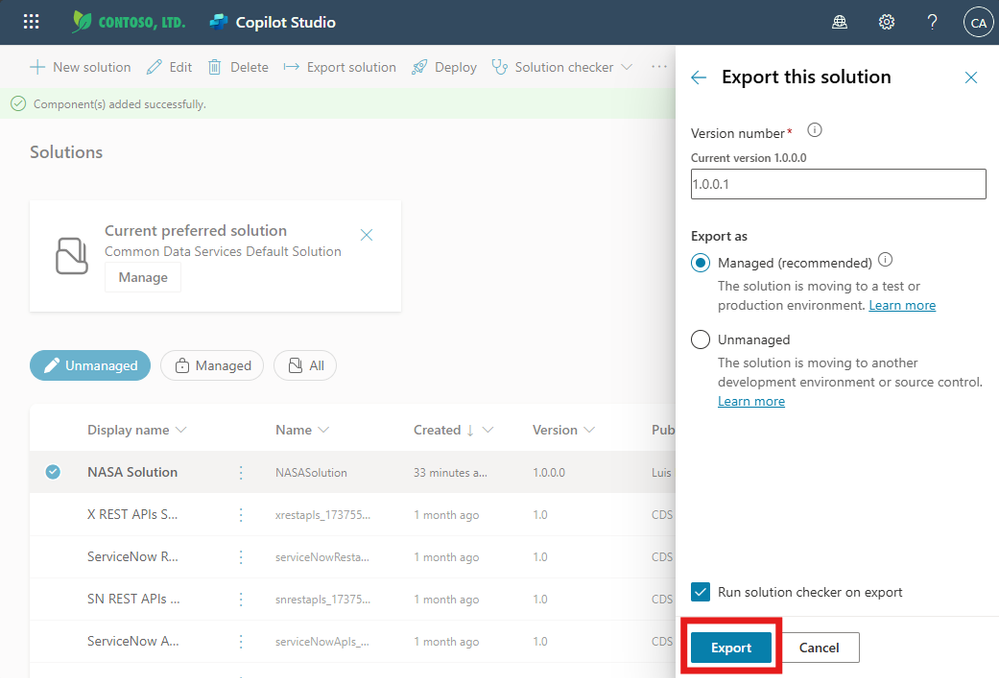
Step 5: Export the Solution
Open your solution.
Click Export solution
Click Next
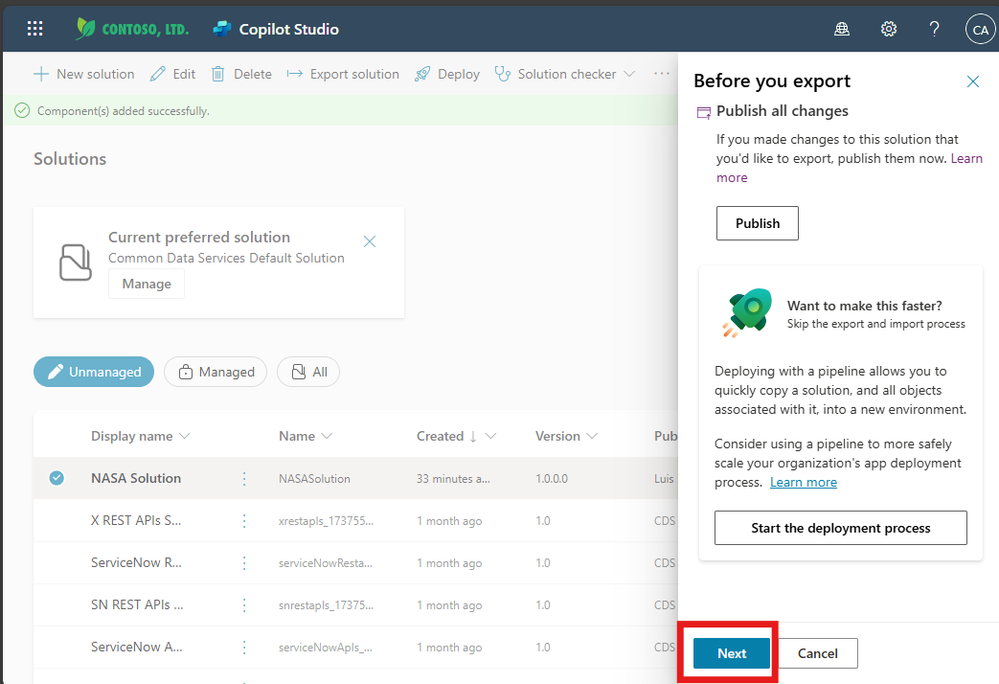
(Optional) Enable Solution Checker
Click Export
After the export process is complete:
Click Download
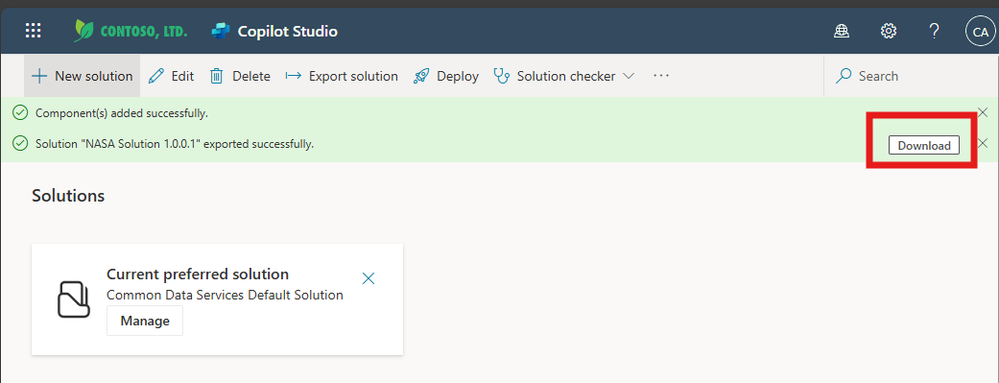
Save the .zip file
Your agent is now exported successfully.
How to Import an Agent in Copilot Studio
Now let’s see how to import the agent.
Step 1: Open Copilot Studio
Go to:
https://copilotstudio.microsoft.com
Step 2: Open Solutions
Click the three dots (...)
Select Solutions
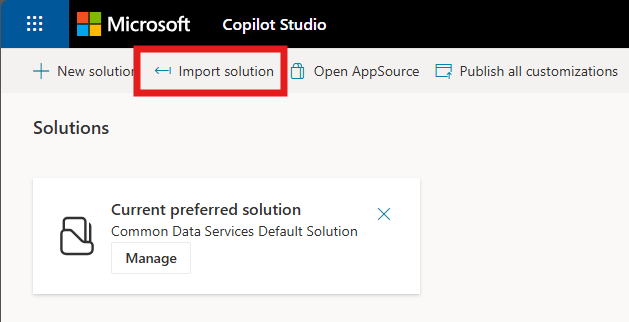
Step 3: Import the Solution
Click on Import solution
Click Browse

Select the exported .zip file
Click Next
Step 4: Review and Import
Review the details carefully
Click Next
Click Import
Wait for the process to complete.

Step 5: Verify the Agent
Go back to the Copilot Studio home page
Open Agents

Confirm your agent is available
Conclusion
Exporting and importing an agent in Microsoft Copilot Studio is done through Solutions.
Simply:
Add the agent to a solution
Export the solution as a .zip file
Import it into another environment
That’s it! Your agent can now be moved safely between environments.
Confidence Level: High
Source:
How to Export an Agent Developed in Copilot Studio | Microsoft Community Hub
https://learn.microsoft.com/en-us/microsoft-copilot-studio/
Comments
Post a Comment